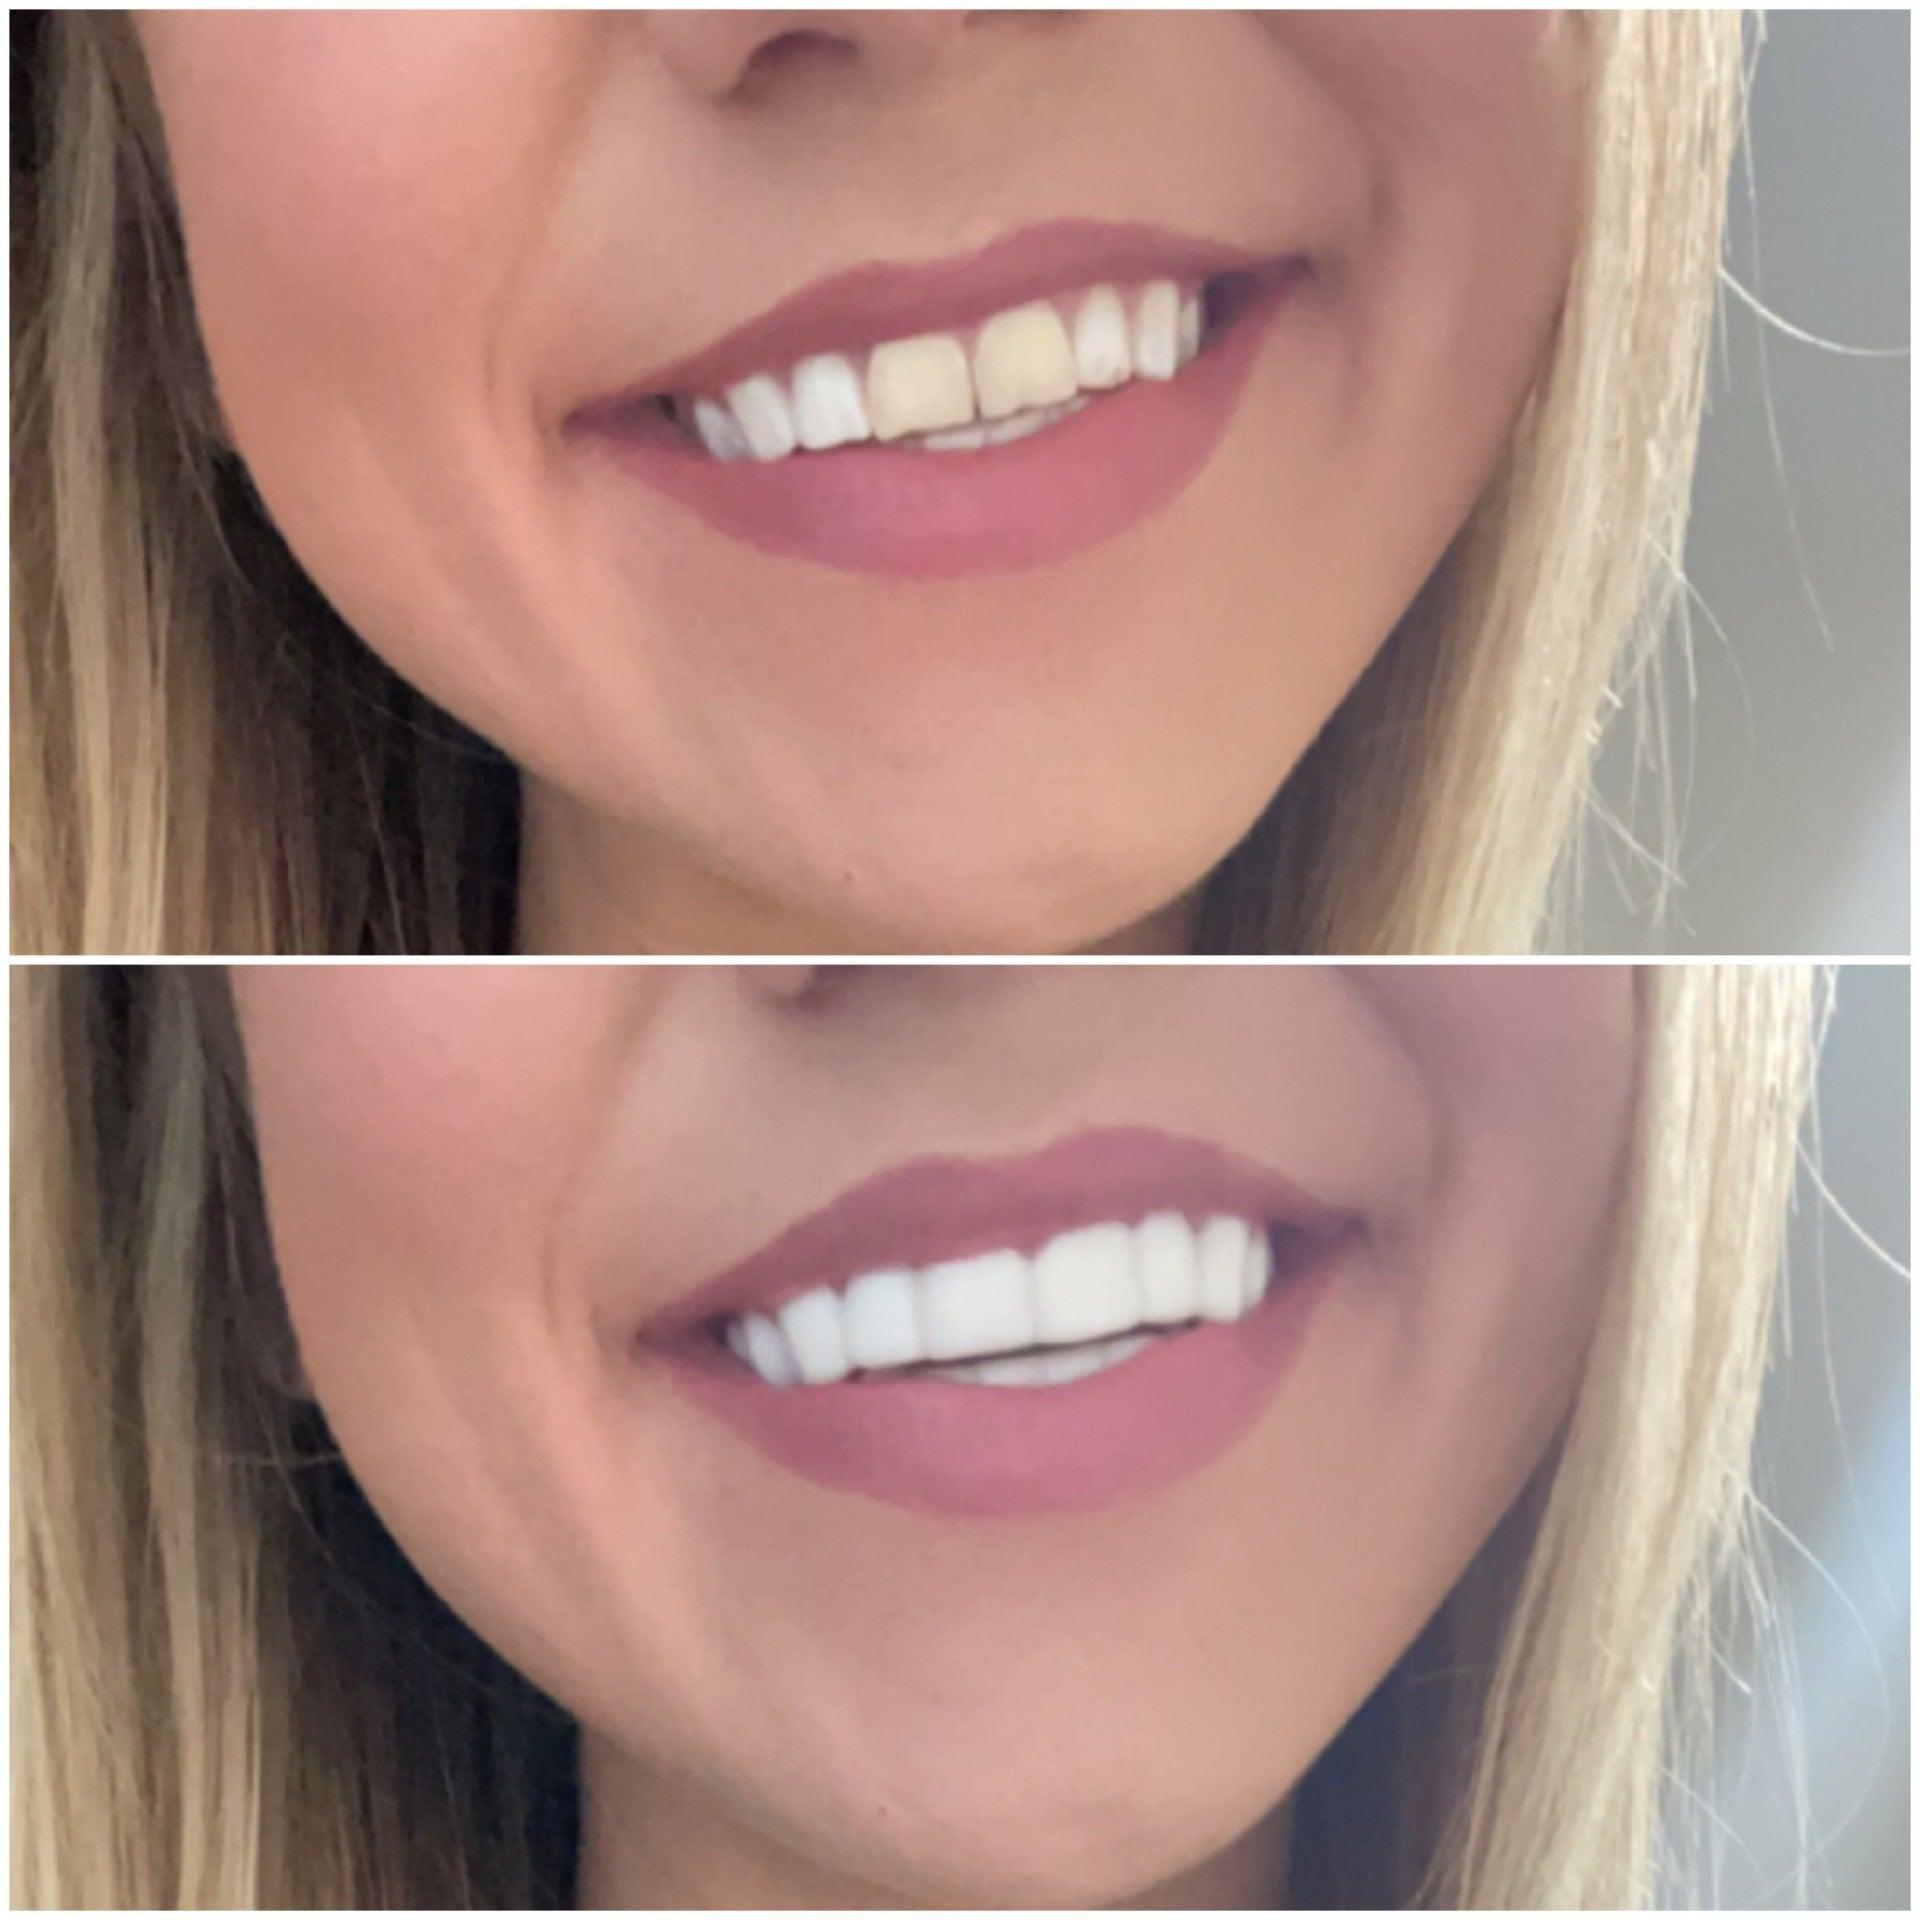
Taking the Right Impression for Your Clip on Smile Veneers
Everyone wants a beautiful smile, but sometimes that means getting veneers. The process of fitting permanent veneers can be quite overwhelming for some people. Therefore, a temporary solution like Clip On Veneers is a great idea for some people.

Clip On Veneers give you a sparkling smile all the time, and they come with big time benefits as you can take them in and out anytime. Shiny Smile Veneers hide your missing teeth, stains, and gaps.
For our dental technicians to make a perfectly fitting snap on veneer, a mold of your teeth is used / needed. Therefore, you need to prepare an impression of your teeth after ordering your clip-on veneers and remember, Perfect Impressions = Perfect Fitting Veneers.
So your clip on veneers will only look and fit as good as your impressions are.
Here are some tips that will help you make a perfect impression.
Round up the Essential Requirements
At Removable Veneers USA, once you place your order, will ship you an impression kit by Priority Mail. The kit has dental putty, the impression catalyst, a lower tray, and an upper tray. You also need a mirror and a stopwatch. A watch will assist you in monitoring time which is really important, while the mirror helps for taking a perfect impression.
Practice Using the Trays
Before you start the process, try fitting the trays on your teeth. A tray that is too large or too small for your mouth, will not produce a perfect mold. Therefore, if you are in doubt, you should seek clarification first and reach back out to us. The sides of the tray must not touch your teeth when trying them on.
Mix the Putty and Impression Catalyst
Wash your hands and then quickly and thoroughly mix the putty and the impression catalyst (it is all in the hand action). The putty should be a uniform color once mixed properly and should not have streaks in it.
Mixing it must NOT take any longer than 30 seconds. When mixed quickly & properly, the putty will have formed a single color. During mixing, do not use gloves. Putty reacts better when mixed on bare skin.
In hot weather, consider placing the putty in a refrigerator for 5 minutes before using it.
Place the Putty on the Impression Tray
Roll the putty into a sausage-like shape before laying it on the tray. Ensure the putty covers the edges of the tray for a better grip and preventing distortion. Make sure to also build enough put up in the front of the tray so you will have a good gum line impression. However, you should do this within a minute of starting; otherwise, the putty will be too hard.
Put the Tray in Your Mouth
With the help of a mirror, align the tray so that your teeth stay in the middle of the tray once inserting. Then push the tray straight up to take the impression. Get your teeth as deep as possible into the putty- we are looking for the putty to ooze over your gum line, but your teeth should not contact the base of the tray.
Avoid moving the tray once you have made the impression and keep the tray still for 3.5 minutes. Don't try to talk while the tray is in your mouth. This is important as otherwise, you may get a double or a wrong (dragged) impression.
Remove the Tray
After three and half minutes, you can gently remove the tray from your mouth by pulling straight down and repeat the same procedure for the other tray.
With the perfect impression, Removable Veneers USA can create a high-quality snap on smile veneer that will brighten your smile.


