
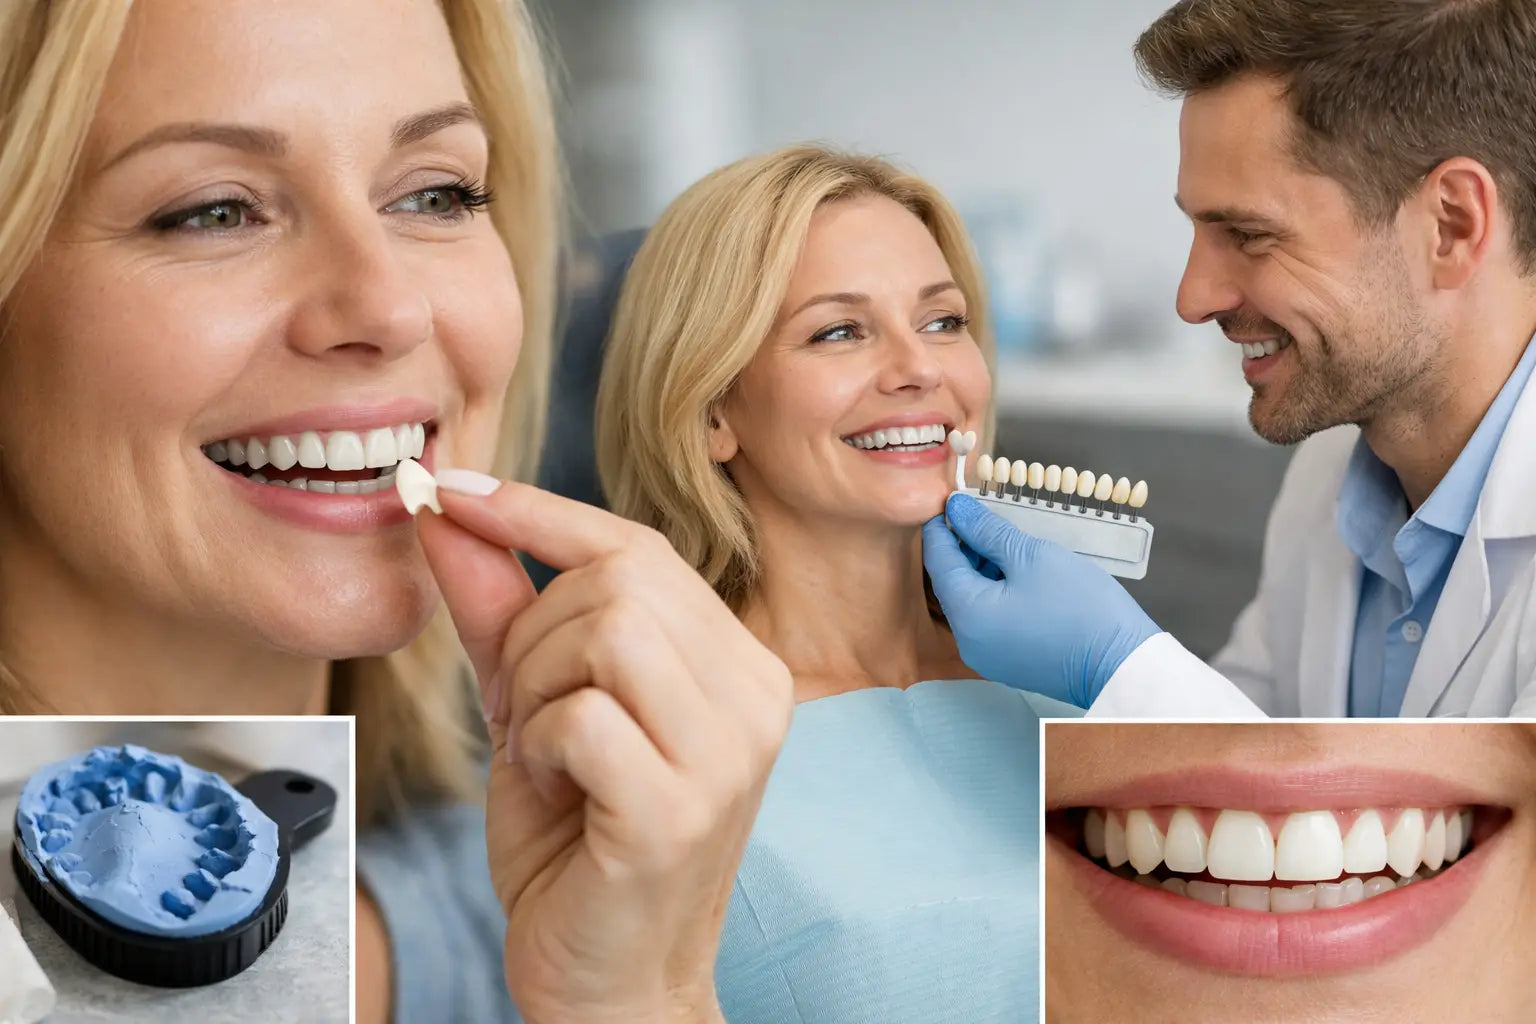
A smile transformation should not begin with guesswork. The veneer fitting process for custom removable veneers is designed to turn the details of your natural teeth into an appliance made specifically for you - without drilling, needles, or permanent changes to your teeth.
For many adults, the goal is simple: feel less hesitant when smiling in photos, talking at work, meeting someone new, or showing up for an important event. A custom-made removable veneer can help create a more even, brighter-looking smile while covering concerns such as chips, gaps, staining, uneven edges, worn teeth, and certain missing teeth. The result depends on your individual tooth shape, bite, and impressions, which is why each step matters.
Step 1: Choose the Right Veneer Package and Model
The fitting process starts before the impression kit arrives. You choose whether you want a top veneer, bottom veneer, or both. Many people focus on the upper teeth because they are most visible when smiling, while others prefer a complete top-and-bottom transformation for a more balanced appearance.
You will also select the veneer model that best matches your goals and budget. Higher-tier options may offer added material, design, or stain-resistant features. The best choice is not always the most expensive one. It depends on the appearance you want, how often you expect to wear your veneers, and the type of improvement you hope to see in your smile.
This is also the point to think honestly about your expectations. Custom removable veneers are a cosmetic appliance, not permanent dental veneers. They can create a meaningful visible change without an in-office cosmetic procedure, but they do not permanently change the position, color, or condition of your natural teeth.
Step 2: Receive Your At-Home Impression Kit
Once your order is placed, you receive an at-home impression kit with the materials needed to capture the shape of your teeth. This is the foundation of the custom veneer fitting process. A clear, accurate impression gives the dental laboratory the information it needs to create an appliance shaped around your smile.
The kit includes instructions to guide you through the process. Take your time, set up in a comfortable well-lit space, and follow each direction closely. The goal is to capture the teeth and gumline areas required for a secure, natural-looking fit.
At-home impressions can feel unfamiliar the first time. That is normal. You are not expected to figure everything out alone. With Removable Veneers USA, each order includes access to a personal design consultant who can help answer questions about the process and next steps. Real human support can make a major difference when you want reassurance before submitting your impressions.
Why Impression Quality Matters
A generic, one-size-fits-most appliance has to make broad assumptions about tooth size, spacing, and alignment. Custom removable veneers work differently. Your impressions help account for the individual details that make your smile yours, including the width of your teeth, visible gaps, uneven edges, and the overall curve of your arch.
That does not mean every smile is a perfect candidate for every veneer style. Very limited tooth support, complex bite concerns, or impressions that do not capture enough detail may affect what is possible. Being accurate and transparent at this stage helps the team guide you toward the best available outcome.
Step 3: Take and Submit Your Impressions
Following the instructions, you will use the impression materials and trays included in your kit. Many customers find it helpful to review the steps before mixing anything, so there is no pressure once the material is ready.
A successful impression should show clear tooth detail rather than a shallow or distorted outline. Do not rush this part simply to get it done. A few extra minutes spent checking your impression can help prevent delays later in production.
After completing the impressions, submit them as directed for review. If they meet the required standard, they move forward into the custom design and production stage. If more detail is needed, you may be asked to redo an impression. While that can feel inconvenient, it is far better than manufacturing a veneer from an impression that is unlikely to produce a comfortable result.
Step 4: Your Impressions Are Reviewed Before Production
Approval is a quality-control step, not just paperwork. The impressions are reviewed to confirm that they provide enough usable detail for the custom appliance. This helps protect the fit, appearance, and overall experience before manufacturing begins.
Once approved, your order details are paired with your impressions. That includes whether you ordered top, bottom, or both veneers, your selected model, and any applicable design preferences. If you have questions about shade or the look you are trying to achieve, this is where clear communication with your design consultant is especially helpful.
Natural-looking does not have to mean overly bright or artificial-looking. Some people want a noticeably whiter smile for photos and special occasions. Others want a softer, everyday appearance that still looks like them. The right choice is personal, and it should reflect how you want to feel when you smile.
Step 5: Your Custom Veneers Are Made in a U.S. Dental Lab
After approval, your removable veneers are made to order in a U.S.-based dental laboratory. Rather than pulling a finished product from a shelf, the production team uses your impression data to create an appliance for your specific teeth.
This custom production process is where fit and appearance come together. The design needs to cover visible imperfections while remaining shaped for your mouth. The goal is a smile that looks more uniform and polished without requiring your natural teeth to be filed down or altered.
Manufacturing time can vary based on the model selected, production volume, and whether expedited service is chosen. A custom appliance is worth waiting for because the alternative - a quick generic product - cannot offer the same level of personalization. If timing matters for an event, ordering early gives you more flexibility.
Step 6: Receive Your Veneers and Check the Fit
When your custom removable veneers arrive, follow the included directions for placing and removing them. The first fitting is your opportunity to see how your new smile looks and feels in your own mirror, with your own expressions and natural lighting.
A well-made custom veneer should feel secure and sit comfortably when worn as directed. It may take a little time to become accustomed to the sensation of wearing any new oral appliance. However, persistent pressure, sharp discomfort, or an obvious fit concern should not be ignored. Contact customer support or your design consultant so the issue can be reviewed.
Avoid trying to reshape, cut, or force the appliance yourself. Small changes can affect how it sits and may compromise the material. Custom support and applicable satisfaction or manufacturing protections exist for a reason: you should have a clear path for getting help when something does not feel right.
What Can Affect the Final Fit?
The most significant factor is the quality of the impressions. Clean, complete impressions give the laboratory the best possible foundation. Your selected model, natural tooth arrangement, amount of visible tooth structure, and the type of cosmetic concern being covered can also influence the final look.
For example, a person with mild spacing and discoloration may be seeking a different type of transformation than someone with multiple worn or missing visible teeth. Both may want a more confident smile, but the design considerations are not identical. This is why a custom approach is more meaningful than choosing a standard size online.
It is also wise to distinguish between confidence goals and unrealistic perfection. The most satisfying result is often one that looks brighter, fuller, and more even while still fitting your facial features and personal style. A smile does not need to look identical to someone else's to make a powerful difference in how you carry yourself.
A Process Built Around Your Real Smile
The veneer fitting process is not just a series of shipping steps. It is the path from feeling uncomfortable about your teeth to receiving a custom-made cosmetic option designed around them. From your first impression to the final fit, careful attention to detail helps support a more comfortable, believable result.
If your smile has been holding you back, give yourself permission to explore an option that does not require permanent dental work. Take the impression step seriously, ask questions when you need them, and choose a look that helps you feel more like yourself every time you smile.